Procedure overview

What actually happens in a session

A plain summary of what tattoo and permanent makeup sessions can and cannot do. Read it before booking, so the plan, the healing time and the limits are clear from the start.

Tattoo sessions

  1. Consultation and original design45 to 60 min · no needle

    We match you to an artist whose portfolio fits your idea, then develop an original drawing from your brief. You approve the artwork before a stencil is placed.

  2. Session and numbing2 to 6 h · pain 3 to 7 of 10

    Outline first, shading or colour after. Topical numbing is offered. It lowers sensation but does not remove it, and large work is planned across several sittings.

  3. Healing and touch-up2 to 4 weeks · touch-up from week 6

    Peeling and light scabbing are normal. One touch-up is usually scheduled once the skin has settled.
Permanent makeup

  1. Shape mapping and pigment choice45 min · no needle

    Brows, lips or eyeliner are mapped to your features and drawn on for approval. Pigment is matched to undertone, not to a colour chart alone.

  2. Pigmentation session1.5 to 3 h · pain 2 to 5 of 10

    Pigment is placed in the upper dermis with a digital machine. Redness and slight swelling settle within a day or two.

  3. Colour refresh4 to 8 weeks · then every 12 to 24 months

    PMU fades and shifts over time. A refresh appointment completes the shape and evens the tone.

What these procedures cannot do

  • They cannot be guaranteed permanent. Fading, softening and slight shifts in tone are expected.
  • They cannot be fully reversed. Removal is a separate, longer and less predictable process.
  • They cannot be done on irritated, sunburnt or infected skin, during pregnancy, or with certain medications and conditions.

Healed-work images on this site are real and unretouched. Individual results depend on skin type, aftercare and sun exposure. Read the Procedure Safety and Results Disclaimer, the risks and disclosure details, and the aftercare guidance.

Healed work

Before, immediately after, and healed

Skin passes through three visibly different stages after a tattoo or permanent makeup session. Each one looks different, lasts a different length of time, and needs different care.

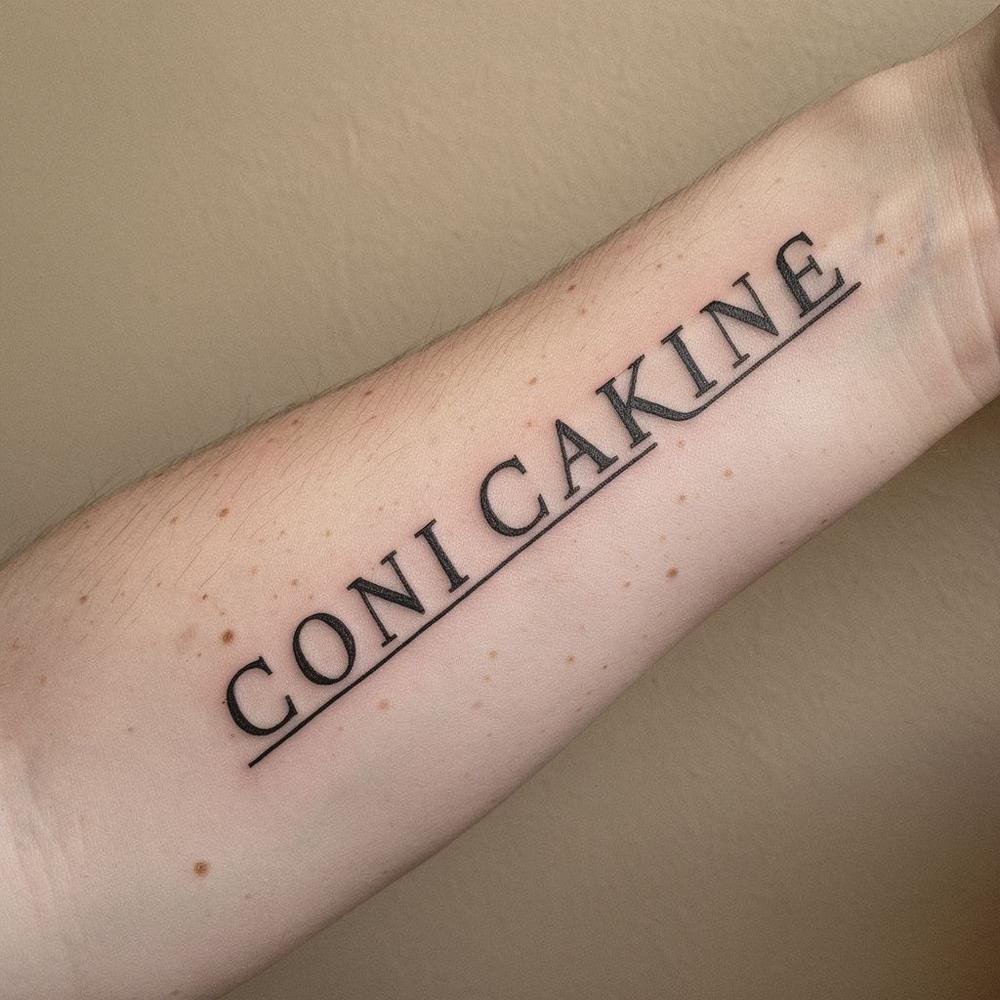
Healed fine-line tattoo on a forearm photographed in daylight without retouching
Healed, day 34. Unretouched, daylight, no filter.

Healed: day 30 or later

01

Before

Session day, skin at rest

Unmarked skin in the same light as the healed frame. This is the reference we match placement and size against while stencilling.

02

Immediately after

Day 0 to 2, wrapped

Redness, plasma and light swelling are normal. Fresh work reads darker and bolder than the final result, so these photos stay out of the portfolio.

03

Healed

Day 30 or later

Lines settle and soften, colour evens out, and skin texture returns to normal. Only this stage is used to decide whether a touch-up is needed.

Healed photographs are published as shot. Fresh and wrapped photos are not published for every case, because early inflammation makes a visual comparison misleading. Read the risks and touch-up details and the aftercare instructions before booking.

Before you book

Risks and disclosures

Tattooing and permanent makeup are minor skin procedures with known risks. Read this list before your session. We also go through it with you in person, and you sign that you understood it.

  1. Infection

    Redness, swelling, warmth or pus at the site can signal a bacterial infection. We use single-use needles, barriers and sterile setup, but skin is never fully risk free. Seek medical care early if symptoms appear.

  2. Allergic reaction

    Pigments, numbing cream, latex and adhesives can trigger reactions. Some colour allergies appear weeks or years later. Tell us about every known allergy before the stencil goes on, even a mild one.

  3. Scarring and keloids

    Any needle break in the skin can heal as a raised or thickened scar. The risk is higher on the chest, shoulders, back and jawline, and for people with a personal or family history of keloids. We may decline or resize a design in those areas.

  4. Ink migration and colour shift

    Pigment can drift under the skin over time, softening edges or blurring fine lines. Black can cool to blue-grey, browns can warm or fade, and permanent makeup on lips may shift in tone. Sun exposure and smoking speed both up.

  5. Healing that is not typical

    Patchy retention, hyperpigmentation, blistering and slow healing happen, more often on oily, sun-damaged or scarred skin. One touch-up session is normally included within the agreed window; further sessions are charged separately.

Age

Procedures are performed for clients aged 18 and over only. Bring photo ID. We do not tattoo minors with or without parental consent.

Health notes

Disclose diabetes, blood thinners, immune conditions, active skin disease, pregnancy or breastfeeding, and any pigment or anaesthetic allergy. Some of these need written clearance from your doctor before we set a date.

Results

Every design is drawn for one client and one body. Healed photos are shown as they were taken, with no retouching or filter, so you can judge real outcomes rather than an ideal.

Aftercare and touch-ups

What healing actually looks like

The piece you see in the studio is not the piece you keep. Every booking includes a written aftercare sheet, and this is the same timeline we hand over in person, stage by stage, with the touch-up expectations that go with it.

  1. 01

    Days 1 to 3: fresh and tender

    The area is warm, slightly swollen and covered with a protective film that stays on for the first day. Ink and pigment sit on the surface, so colours look darker and sharper than the final result.

  2. 02

    Days 4 to 7: flaking starts

    Thin flakes lift away on their own, along with a little colour. Never pick or scratch. Let the skin shed at its own pace, otherwise you pull pigment out with it.

  3. 03

    Weeks 2 to 3: the milky phase

    The surface looks dull, patchy or as if the whole design has faded. This is a normal stage of skin repair, not a failed procedure. Pigment is still settling under a layer of new epidermis.

  4. 04

    Weeks 4 to 8: depth returns

    Contrast and saturation come back, lines look cleaner, and permanent makeup brows or lips start reading as their intended shade. Any small gaps become visible now rather than earlier.

  5. 05

    Week 8 onward: touch-up assessment

    We photograph the healed piece and compare it with the design and with your healed-work reference. Only fully healed skin can be judged fairly, so nothing is corrected before this point.

At-home instructions

  • Wash gently with lukewarm water and fragrance-free soap, twice a day, then pat dry with a clean paper towel.
  • Apply a very thin layer of the ointment we give you. A heavy layer suffocates the skin instead of helping it.
  • Stay out of pools, saunas, steam rooms and open water for the first two weeks.
  • Keep the area out of direct sun. Once healed, daily SPF is the single biggest factor in how long colour lasts.
  • For permanent makeup, keep makeup, acids and active skincare off the treated brow or lip area until the flaking stops.

Touch-up expectations

One touch-up session is included and is booked between weeks 6 and 10, after healing is complete. Lip blush and some brow work often need that second pass to even out retention, which is planned into the original session count rather than treated as a surprise.

Retention varies with skin type, medication, sun exposure and how closely aftercare is followed. Refresh sessions after the first year are charged, and older tattoos can be revived years later once we review the healed work.